|
|
Post by Slacker on Jun 16, 2015 16:39:33 GMT -8
Greg has been eyeing our products for a long time .. about a year ago he bought our hood scoop when he did his 3.4L swap , and booked his appointment back then . He dropped off his truck on the weekend for his appointment , for some HI Clearance FRP + door skins ... here we go 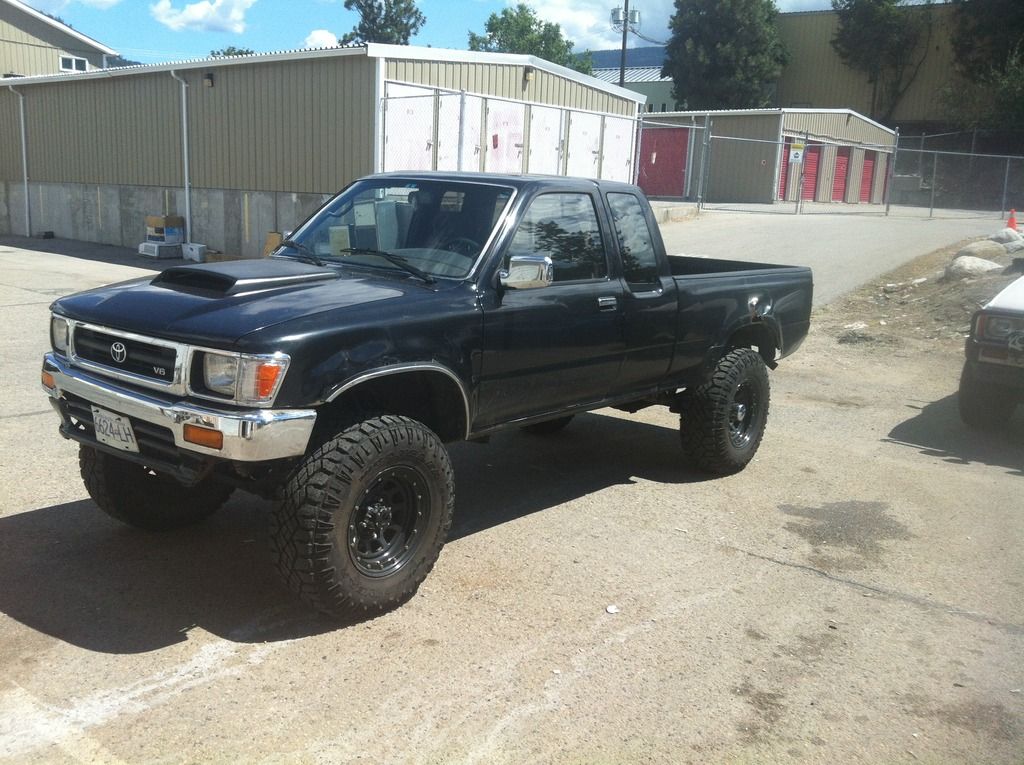 . |
|
|
|
Post by Slacker on Jun 19, 2015 17:31:24 GMT -8
well finally have some time to post some pics for Greg , and all of the rest watching . got it in the shop and got the fenders , and finally the front doors . Greg didn't tell me he had the power option , and well I guess I didn't ask either .. so the harness is always a pain . 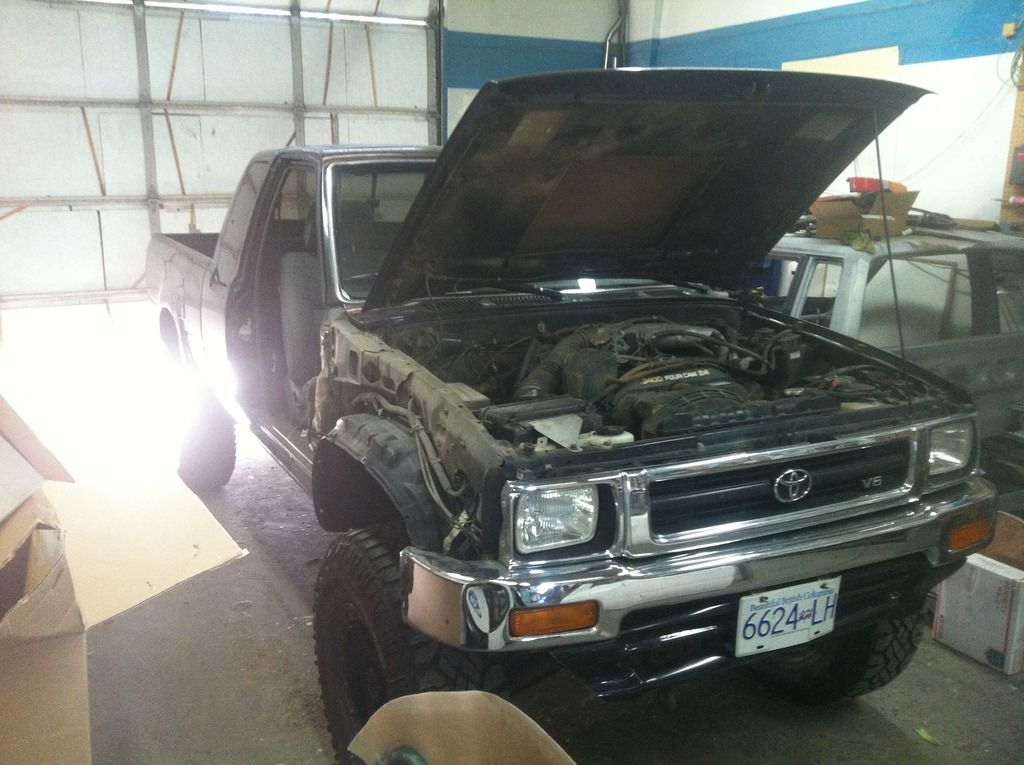 ready to start cutting 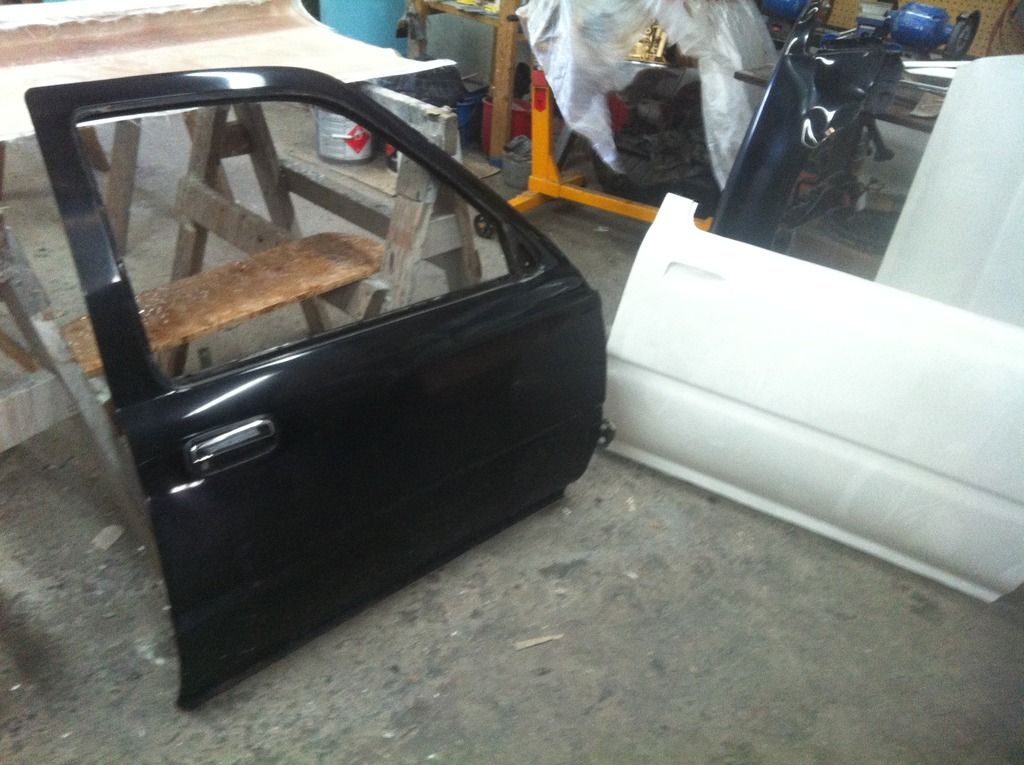 these are fairly easy to do , it's just time cutting the skin off I just use a grinder , I will have a "how to" PDF on my web site soon . 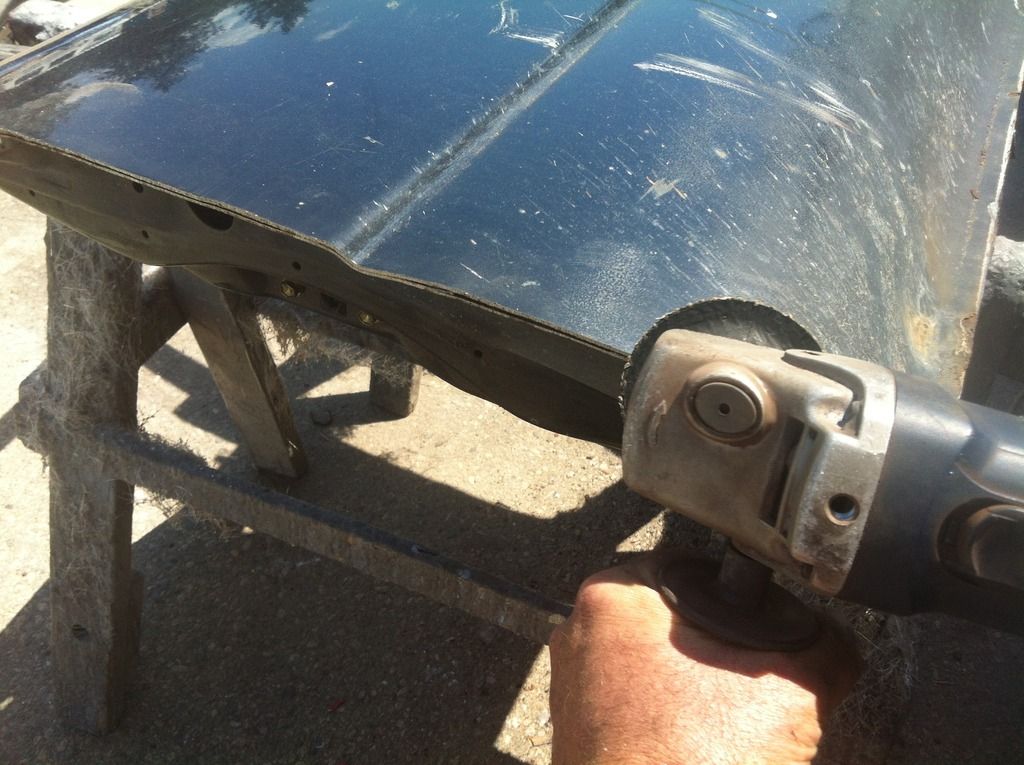 so with the skin cut off , and the shell "cleaned up" .. you can see the damage 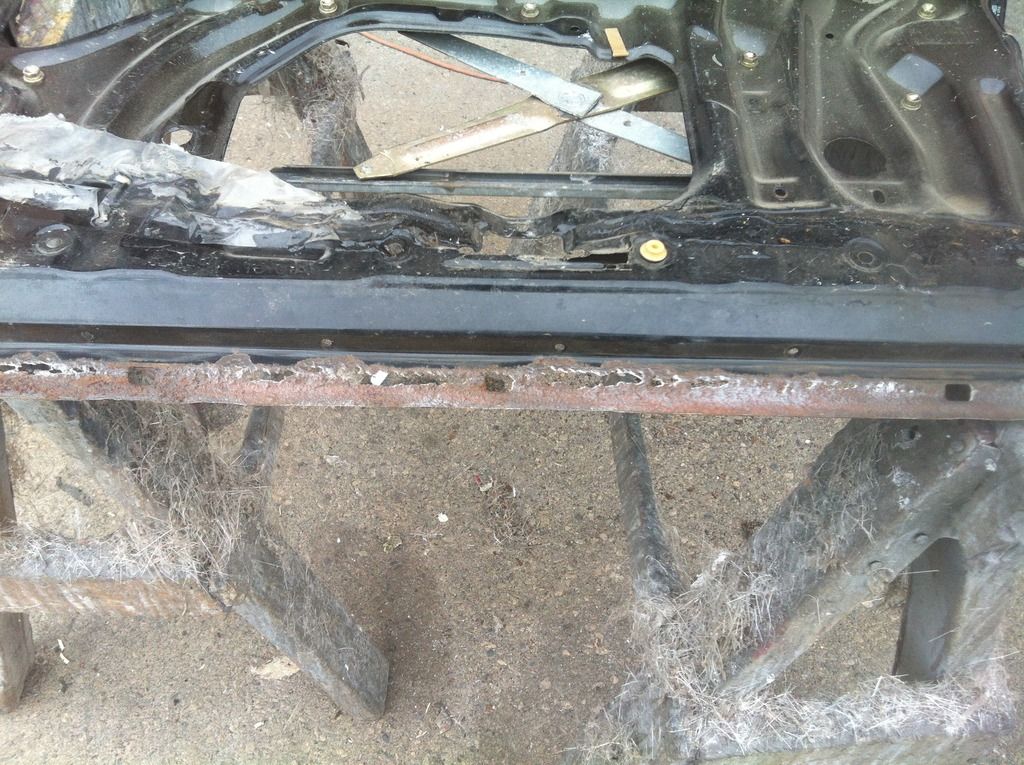 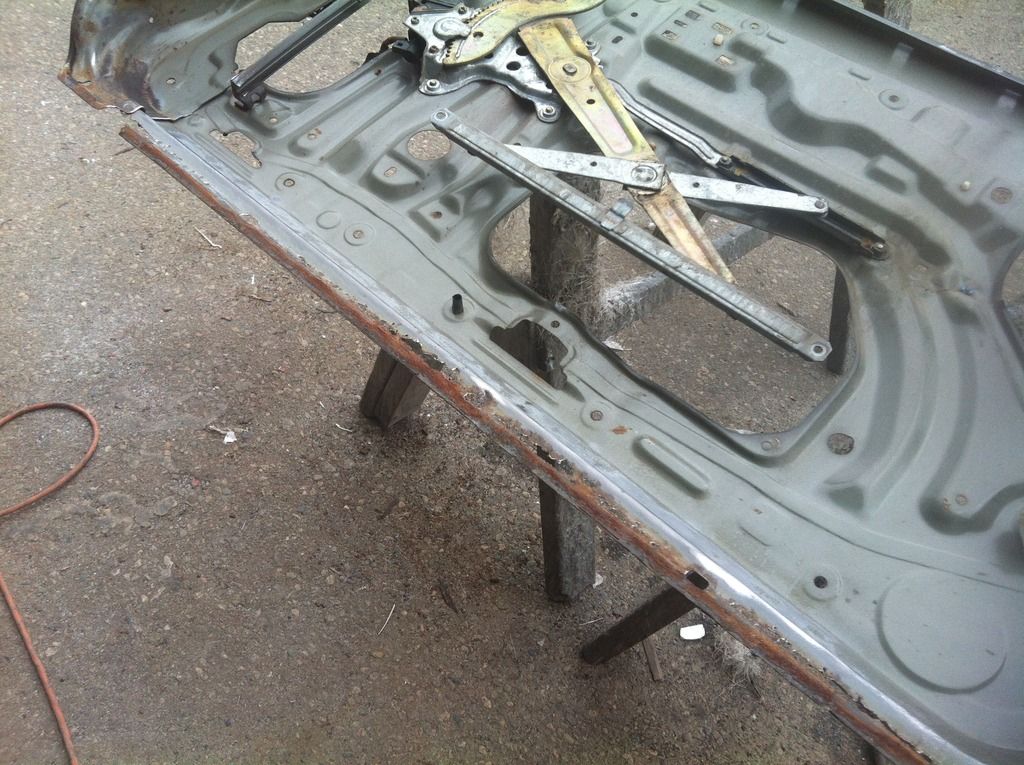 so I cut some pieces with my band saw  ran them threw my bead roller  and welded in the new pieces 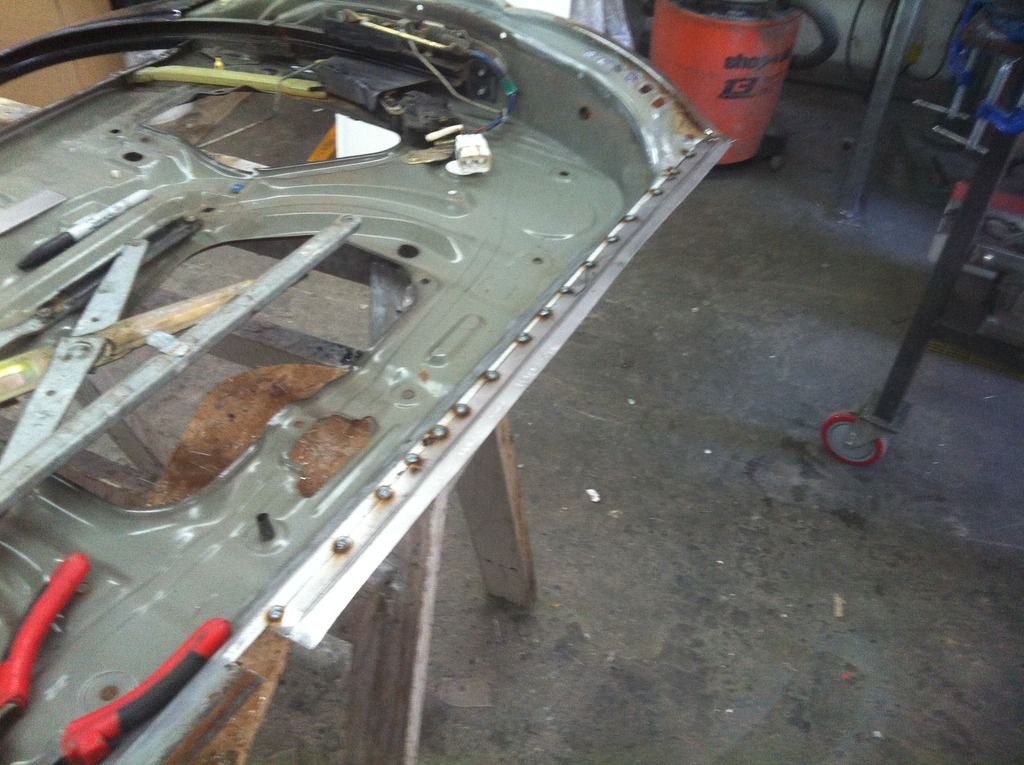 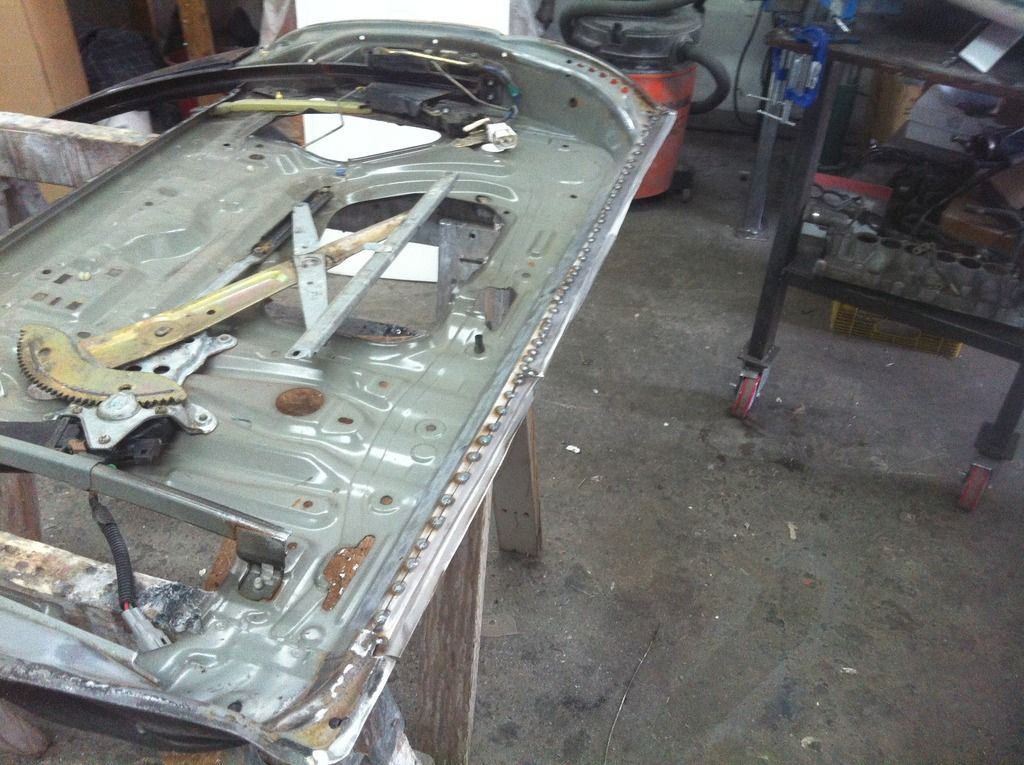 cut some drains , just like the original , and sprayed some Zinc 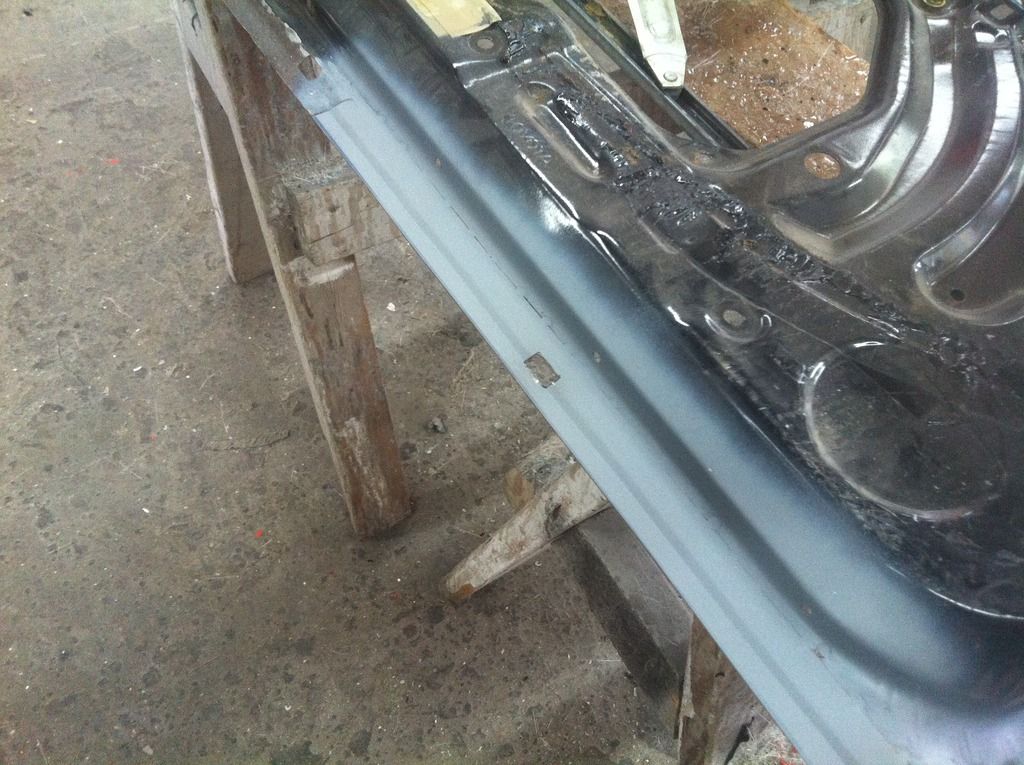 some POR 15 , and we're ready for glue  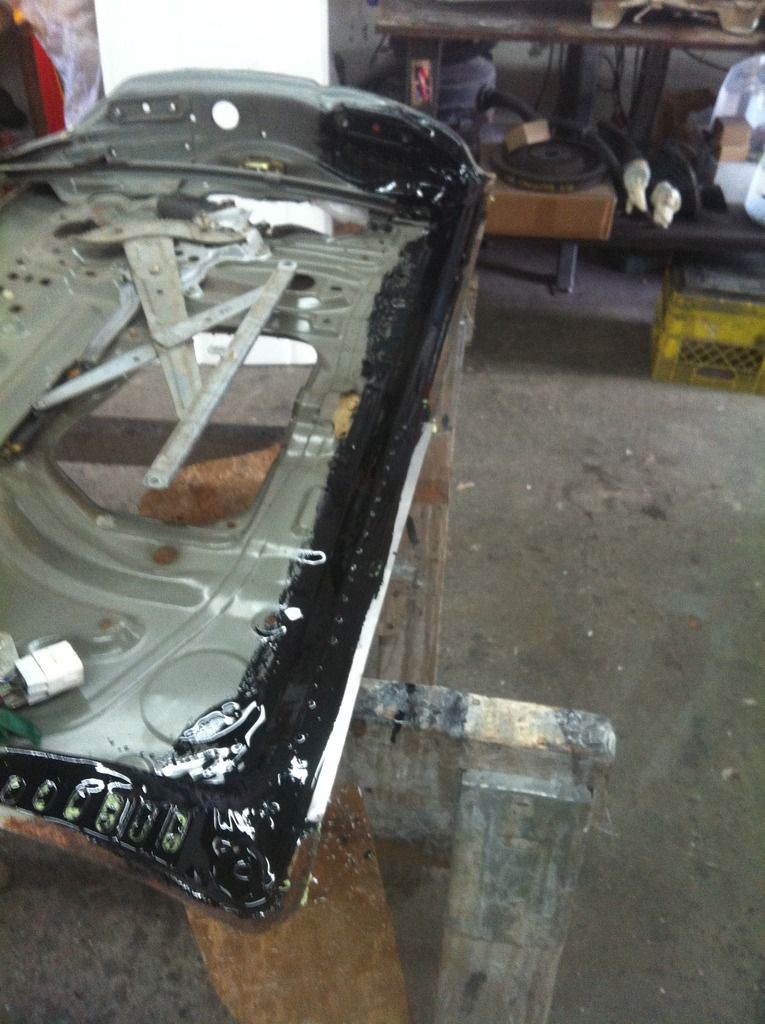 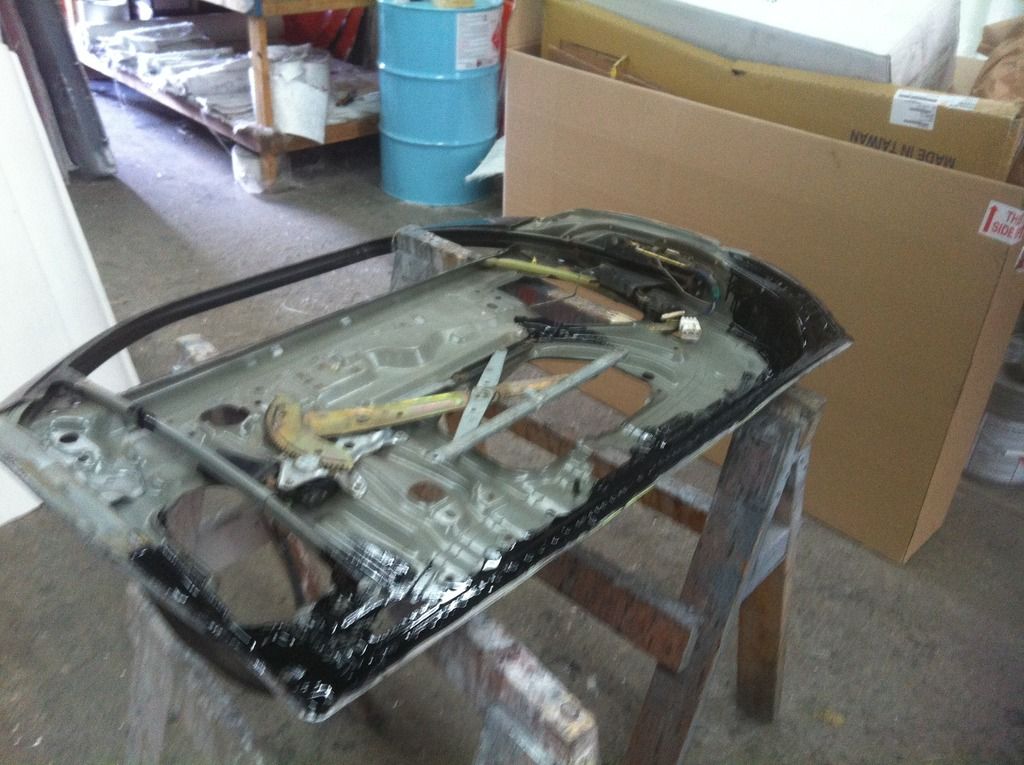 and all glued 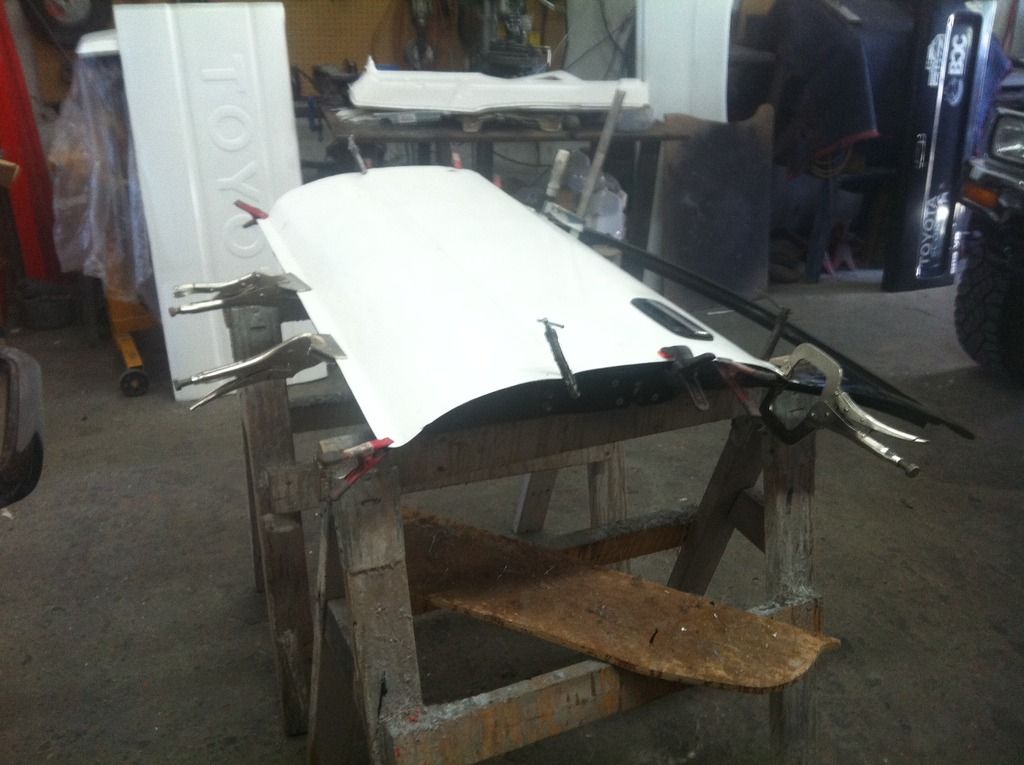 |
|
|
|
Post by 83trekker on Jun 22, 2015 7:51:21 GMT -8
Cant wait to see it put all back together and painted!
|
|
|
|
Post by Slacker on Jun 22, 2015 17:49:10 GMT -8
doors bolted for the test fit , to get the body lines and now I can start on the front fenders and also get the body lines done there .. 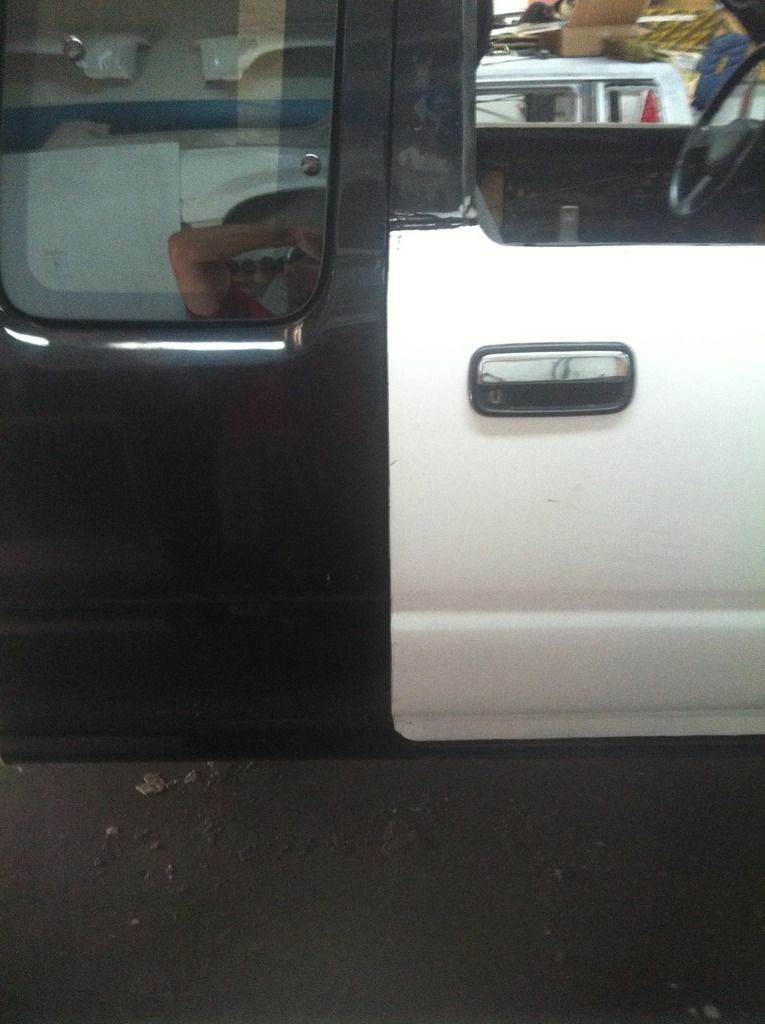 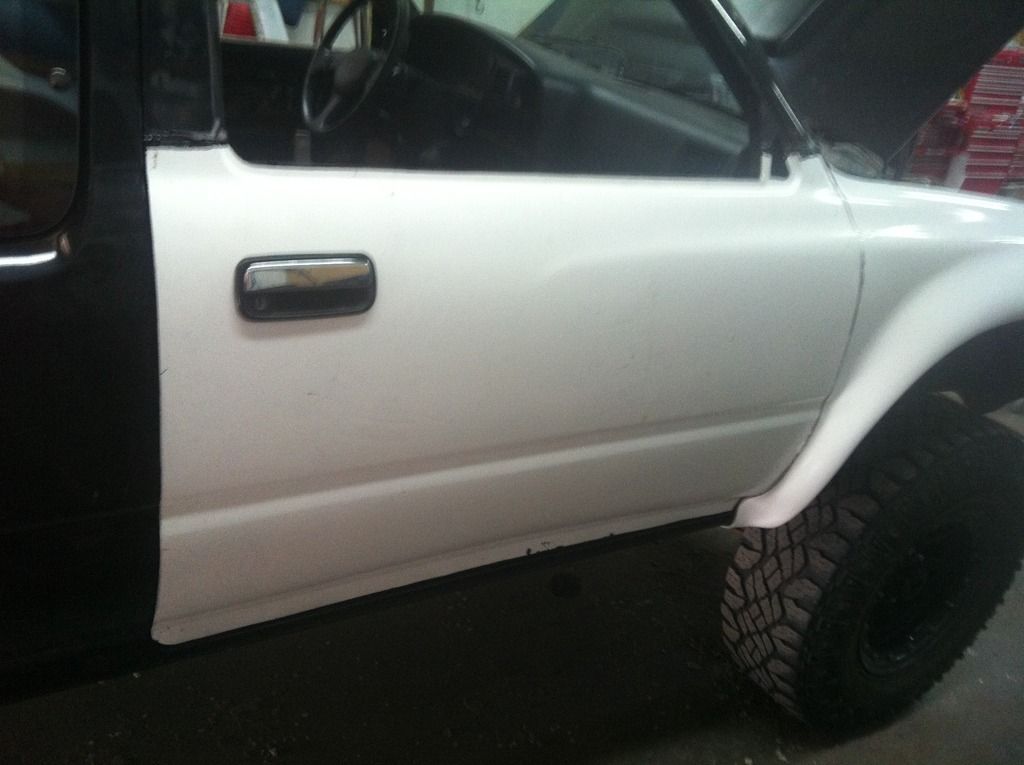 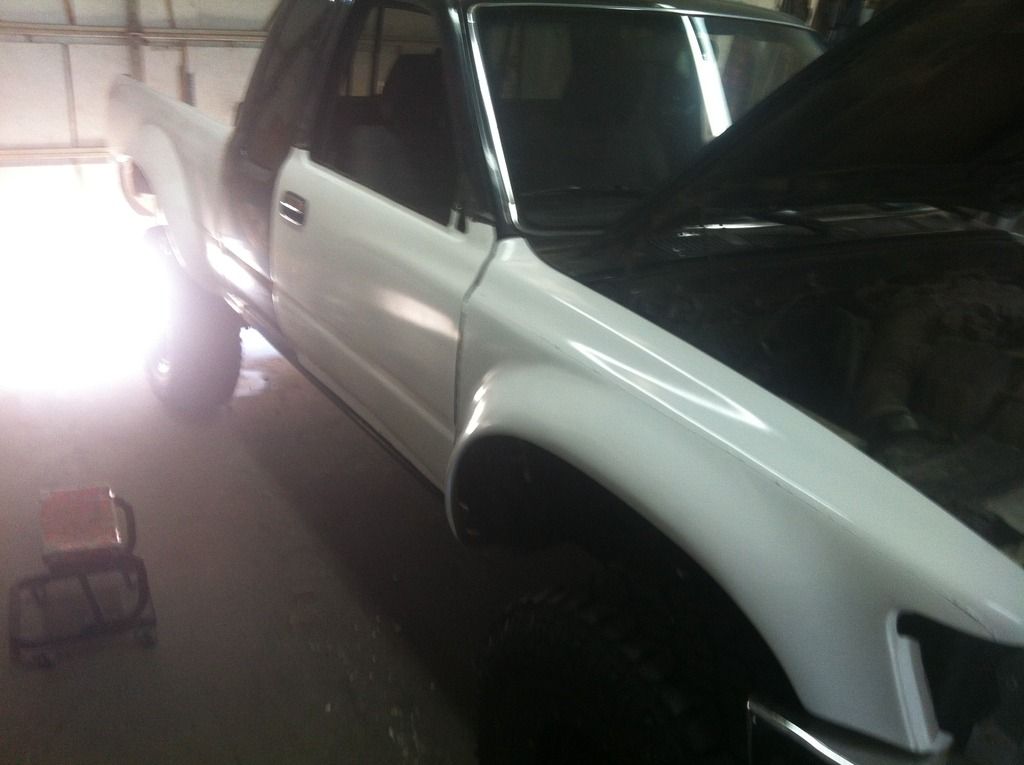 we ALWAYS trim our pieces LARGE we ALWAYS trim our pieces LARGE .. it is way easier to remove material then to add it . If you buy our products , you will need to trim them and fit them .. this will ensure the proper gaps ready to trim up the gaps ... this is what they look like RAW 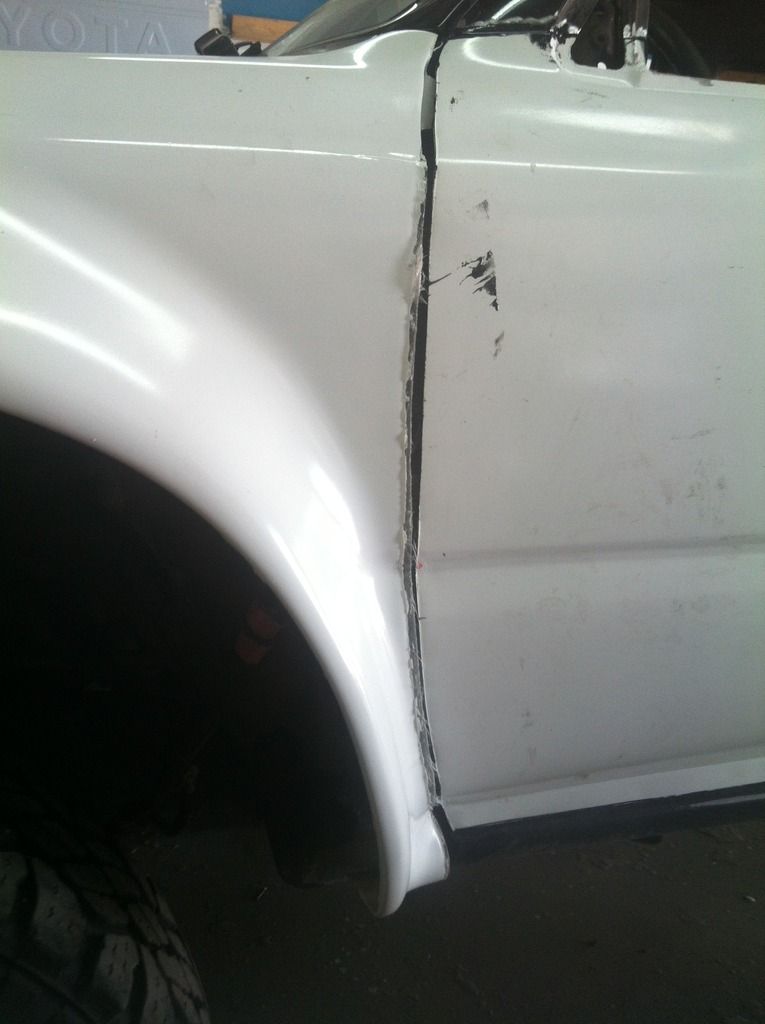 |
|
|
|
Post by Slacker on Jun 26, 2015 18:32:09 GMT -8
so lots happening on Gregs unit .. lots of pics , and i'll definitely burn u a CD of all the pics Greg ... here are just SOME of them Greg asked me to "mould" the scoop into the hood heres how I did it ... First I removed the already mounted scoop .. it is ours , and he purchased when he did his 3.4L swap (we didn't do it ) so , first thing is to remove it , take it to bare metal . you can see here the person who installed the scoop , cut all of the reinforcement out , leaving no support underneath , so I hope this works !! 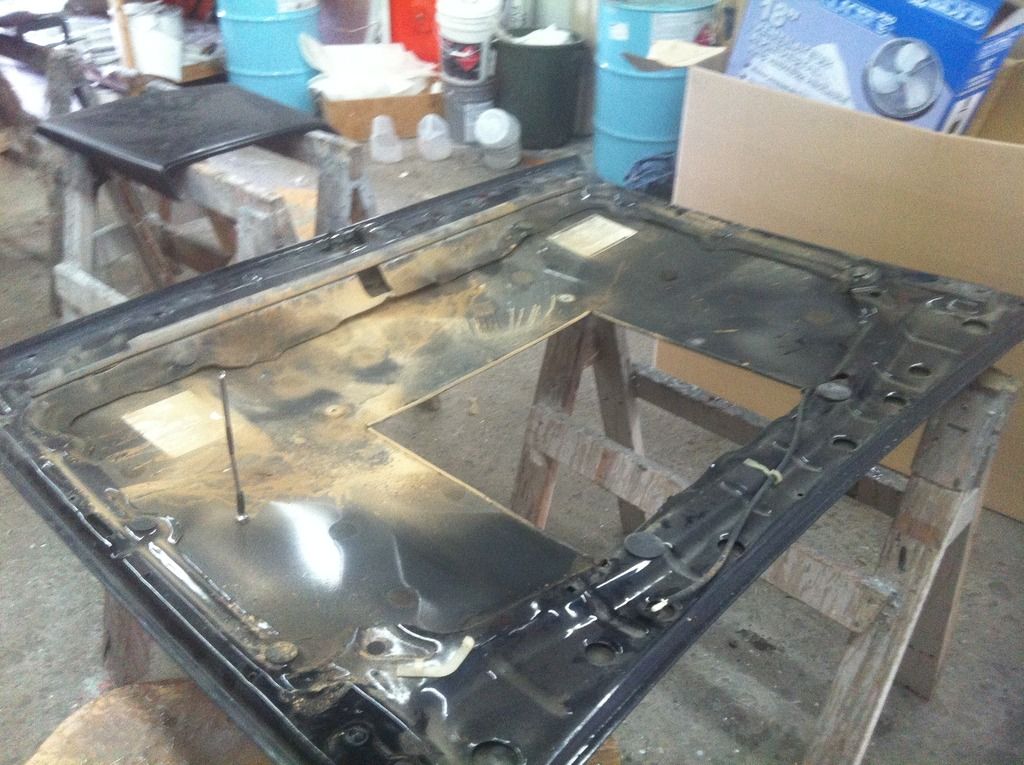 bare metal  huge fan of epoxy ... this stuff works great . so scoop epoxied on 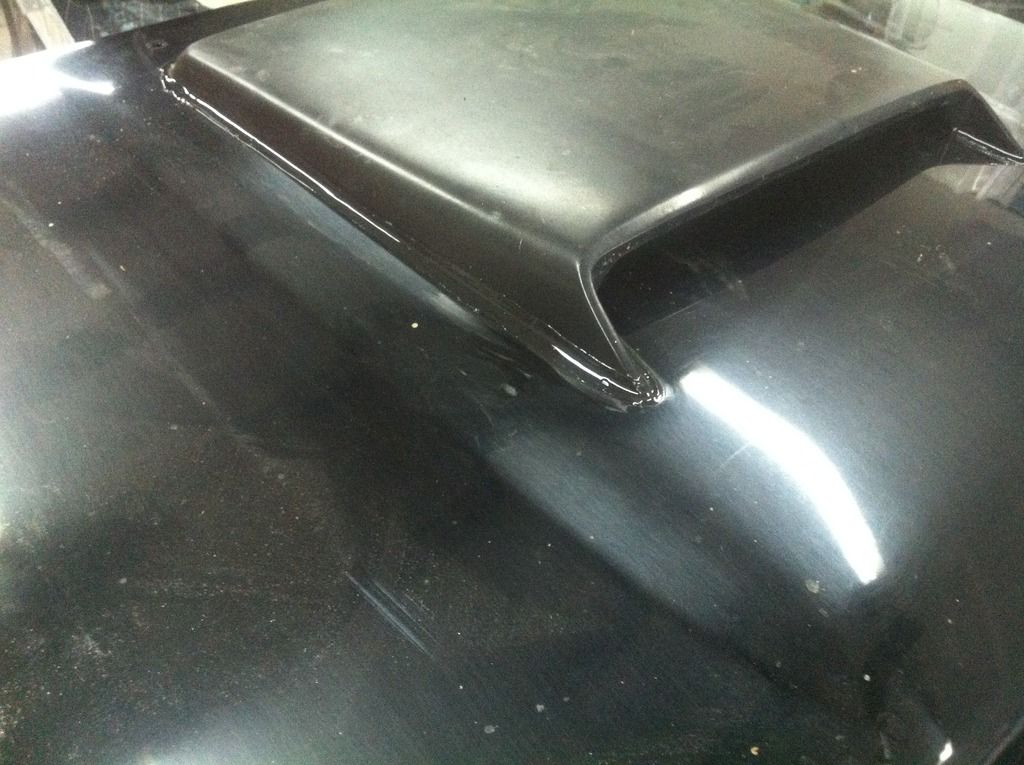 sanded and prepped , ready for some epoxy paint ... 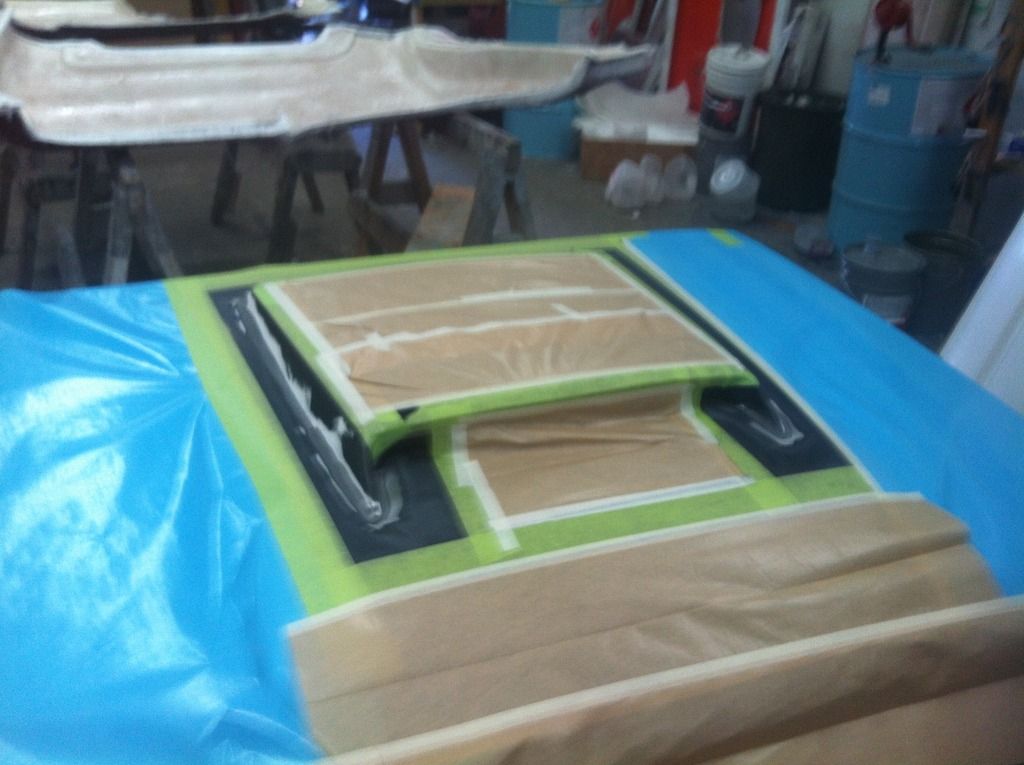 Box sides have also been fit , and now ready for final install .. wire wheeled and POR15'd the inners 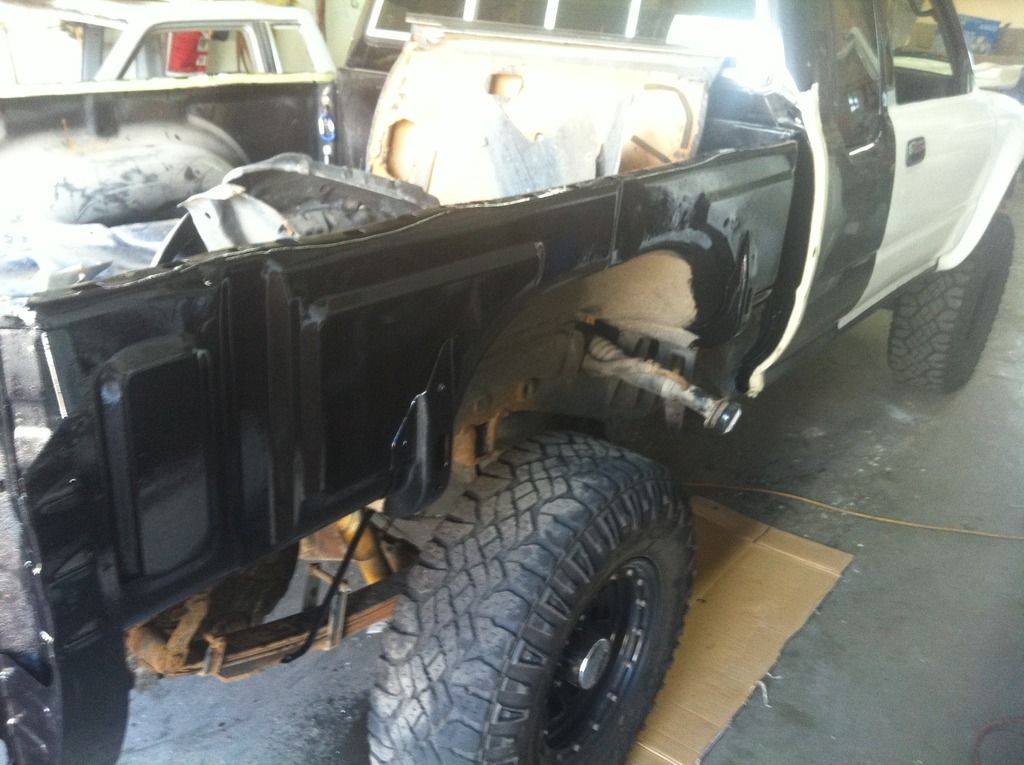 also , stripped the front end again for prepping ..  rounded the edges , and re installed .. front is ready for the body shop 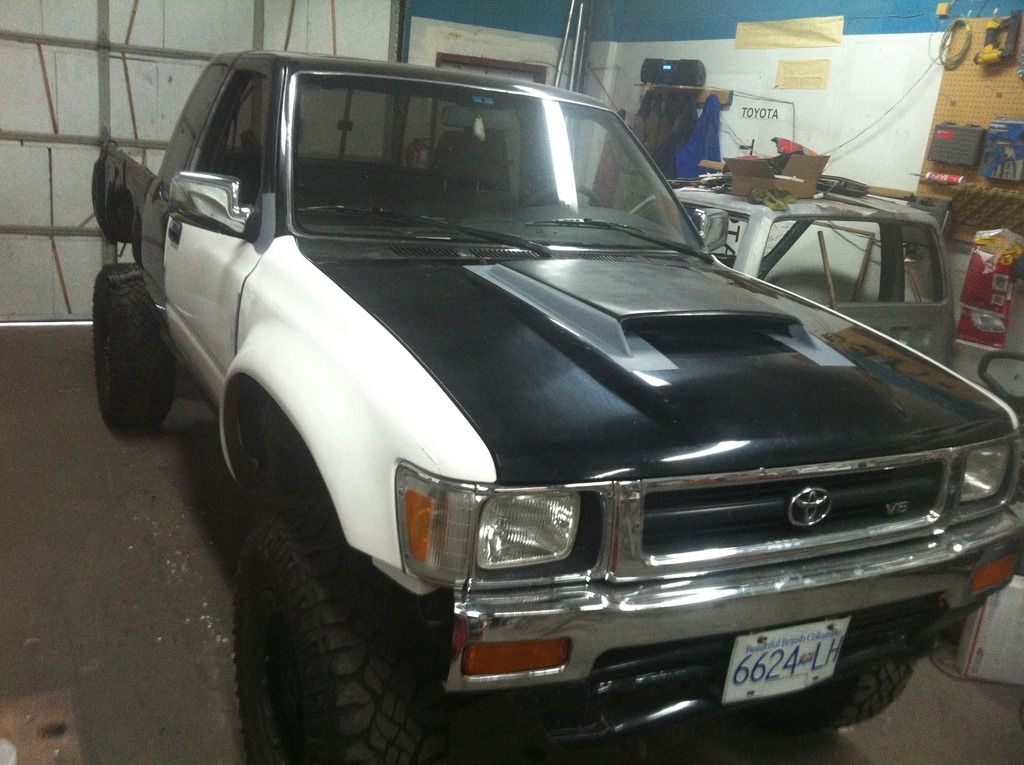 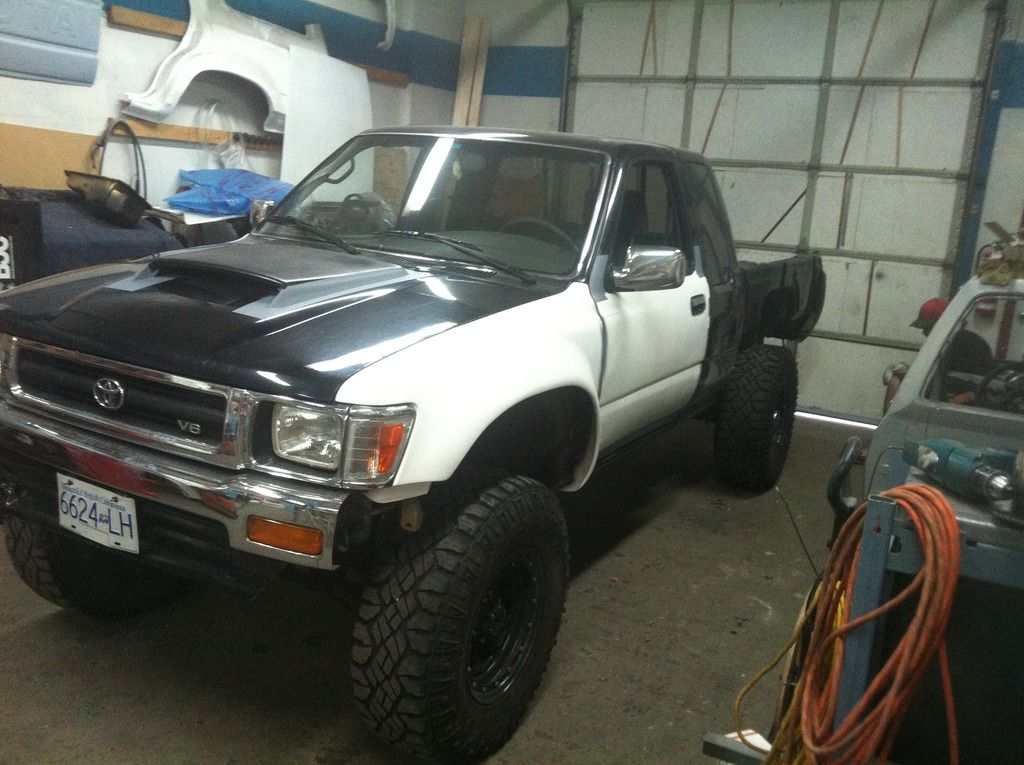 |
|
|
|
Post by Slacker on Jun 30, 2015 17:27:11 GMT -8
glued on the bed sides yesterday ... 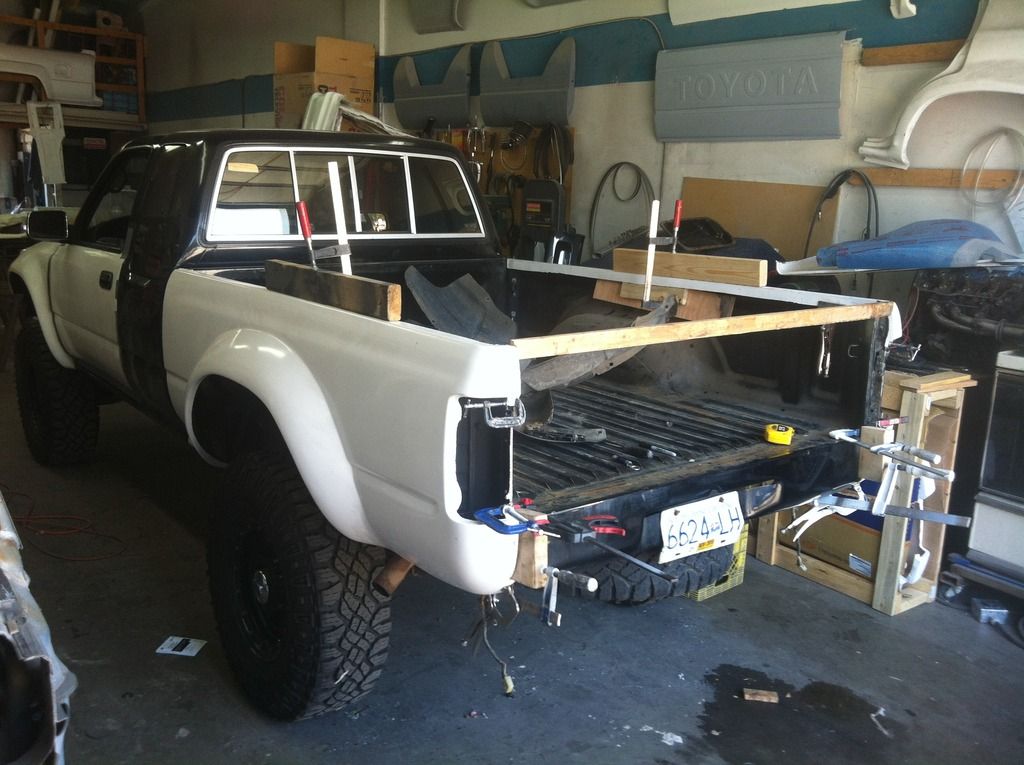 and this morning went in to finish up .. clamps off , original box liner and tail gate back in place 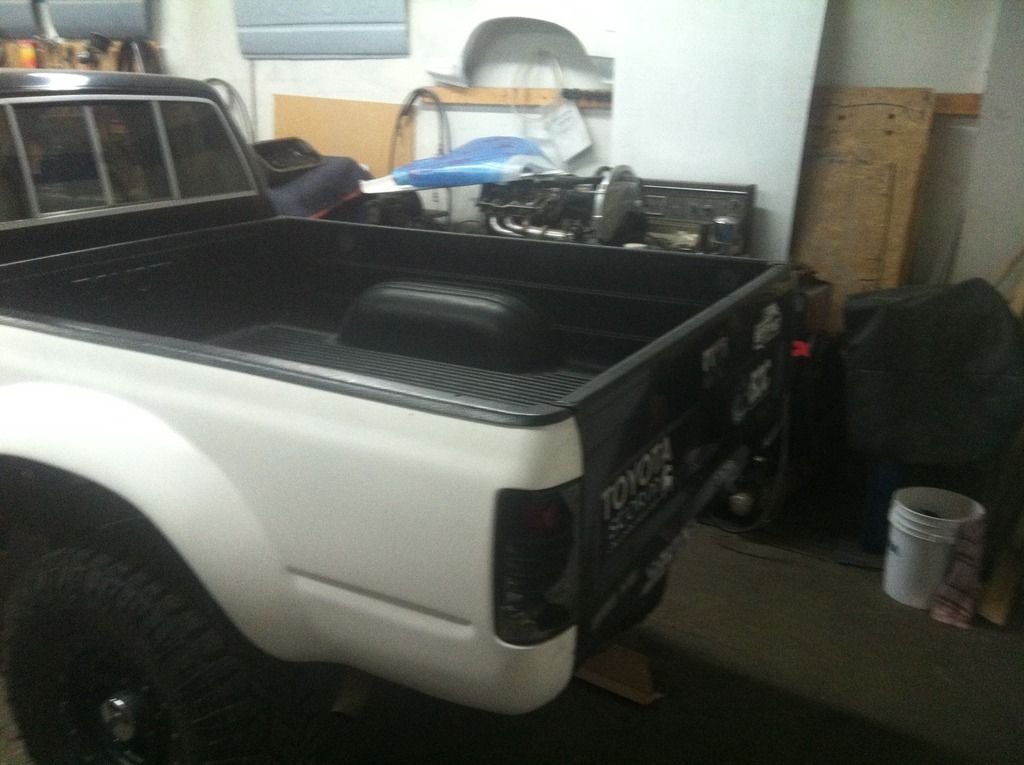 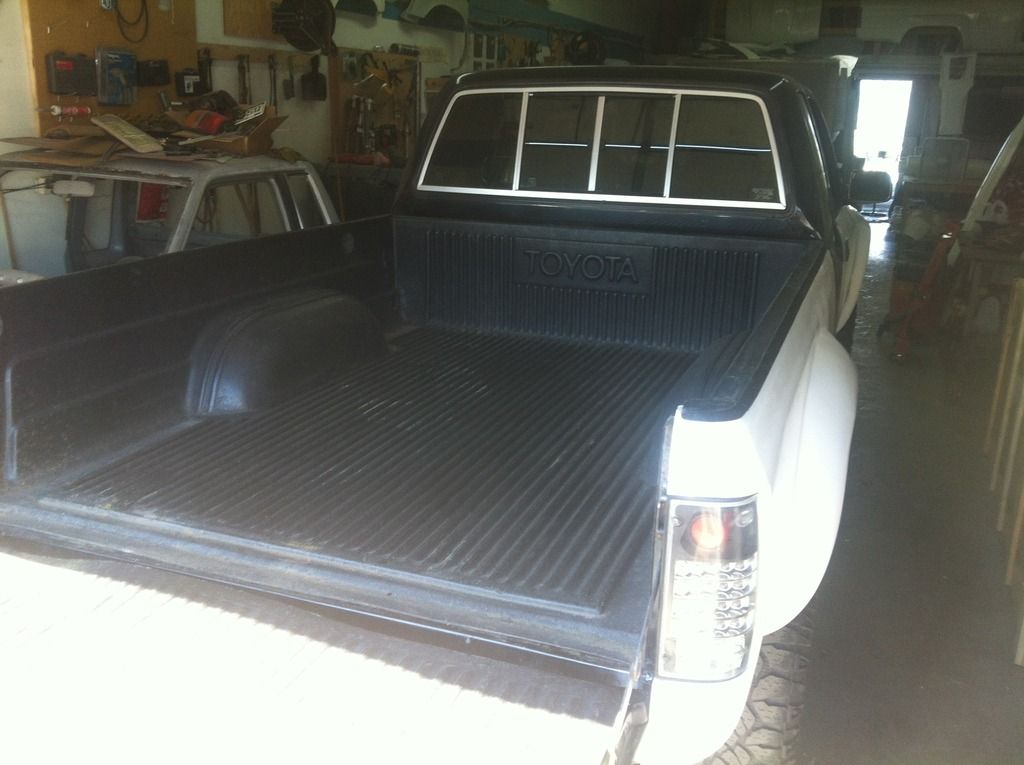 and DONE ! 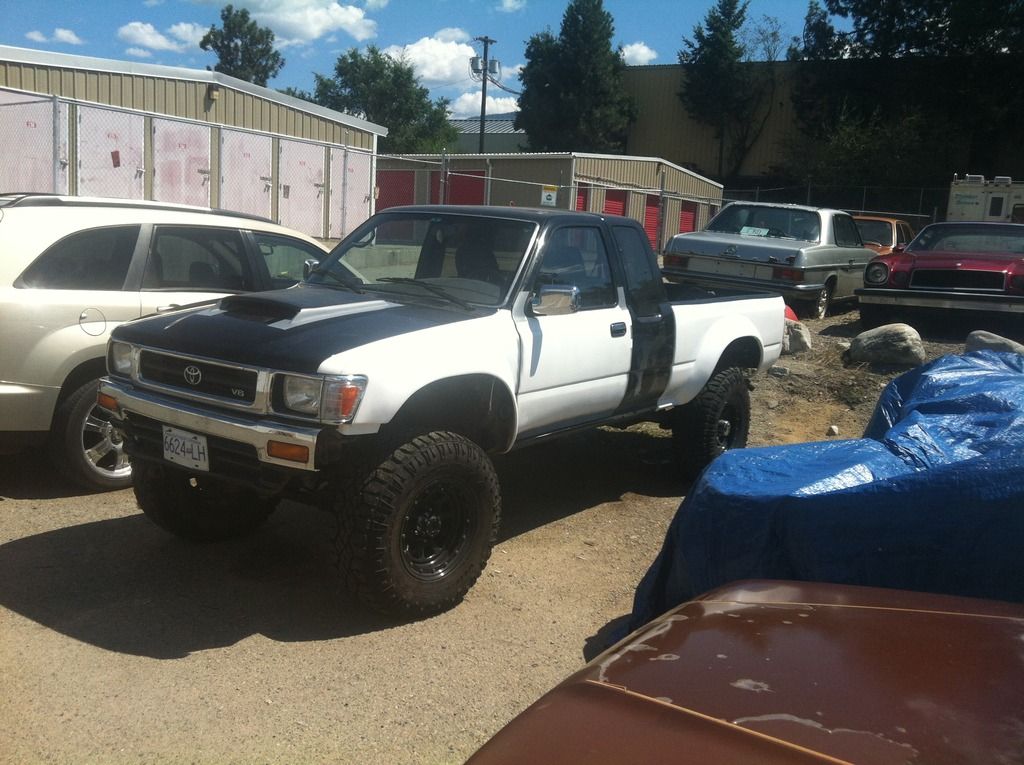 see ya Monday Greg |
|


